Oracle9i 9.0.1 for Linux Install 〜Step 8 終了処理〜
Oracle9i 9.0.1 for Linux Install
〜Step 8 終了処理〜
0.更新履歴
1.はじめに
このドキュメントでは,RedHat 7.1に,Oracle9i 9.0.1をインストールする手順を示す.
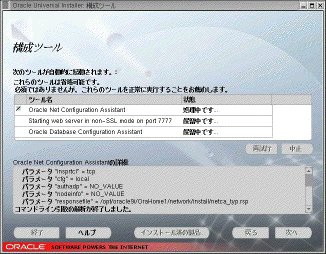
2.root.shの実行
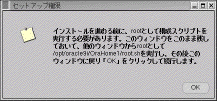
- 画面の指示どおり,rootユーザでroot.shを実行する.
[root@poweredge /root]# /opt/oracle9i/OraHome1/root.sh
Running Oracle9 root.sh script...
\nThe following environment variables are set as:
    ORACLE_OWNER= oracle9i
    ORACLE_HOME=  /opt/oracle9i/OraHome1
Enter the full pathname of the local bin directory: [/usr/local/bin]: /usr/local/bin
   Copying dbhome to /usr/local/bin ...
   Copying oraenv to /usr/local/bin ...
   Copying coraenv to /usr/local/bin ...

\nCreating /etc/oratab file...
Adding entry to /etc/oratab file...
Entries will be added to the /etc/oratab file as needed by
Database Configuration Assistant when a database is created
Finished running generic part of root.sh script.
Now product-specific root actions will be performed.
[root@poweredge /root]#
|
[root@poweredge /root]# cd /usr/local/bin
[root@poweredge bin]# ls -la
total 20
drwxr-xr-x    2 root     root         4096 Feb 19 20:08 .
drwxr-xr-x   11 root     root         4096 Feb 20  2002 ..
-rwxr-xr-x    1 oracle9i root         2316 Feb 19 20:08 coraenv
-rwxr-xr-x    1 oracle9i root         2415 Feb 19 20:08 dbhome
-rwxr-xr-x    1 oracle9i root         2557 Feb 19 20:08 oraenv
[root@poweredge bin]#
|

- sysとsystemアカウントのパスワードを確認する.
- [終了]ボタンを押下する.


