


ブログ - phpMyAdminをインストール
MySQLをWebブラウザベースで操作するツールの定番,phpMyAdminをインストールしてみる.
以下のサイトからダウンロード.
https://www.phpmyadmin.net/
ダウンロードしたファイルは次の通り.
ファイルを展開したものを,公開用ディレクトリに設置.
ログディレクトリも作成しておく.
Apache2用の設定ファイルを作成する.
シンボリックリンクを設置する.
リンク元のファイルの確認.
作成したリンクを確認.
Apacheを再起動.
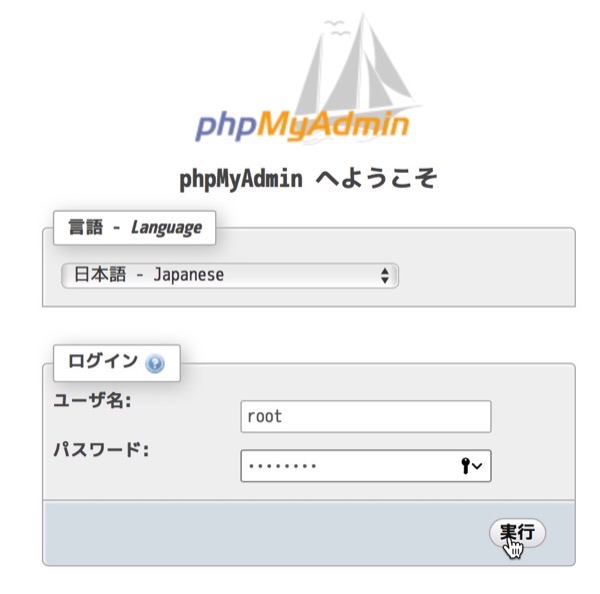
ブラウザでアクセス.
ログインすると,権限のあるデータベースやテーブル,データが確認できる.
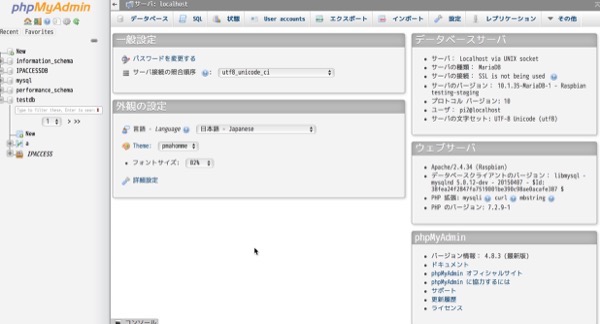
設置するだけなのでとても簡単.危ないねぇ.
以下のサイトからダウンロード.
https://www.phpmyadmin.net/
ダウンロードしたファイルは次の通り.
pi@raspberrypi:~/ダウンロード $ ls -lah🆑
合計 11M
drwxr-xr-x  2 pi pi 4.0K  9月  9 18:43 .
drwxr-xr-x 21 pi pi 4.0K  9月  9 18:43 ..
-rw-r--r--  1 pi pi  11M  9月  9 18:42 phpMyAdmin-4.8.3-all-languages.zip🈁
pi@raspberrypi:~/ダウンロード $
pi@raspberrypi:~/ダウンロード $ sudo mv phpMyAdmin-4.8.3-all-languages /www/phpmyadmin🆑
pi@raspberrypi:~/ダウンロード $ cd /www/phpmyadmin/🆑
pi@raspberrypi:/www/phpmyadmin $
pi@raspberrypi:/etc/apache2/sites-enabled $ sudo mkdir /www/logs/phpmyadmin🆑
pi@raspberrypi:/etc/apache2/sites-enabled $
pi@raspberrypi:/www/phpmyadmin $ cd /etc/apache2/sites-available🆑
pi@raspberrypi:/etc/apache2/sites-available $
pi@raspberrypi:/etc/apache2/sites-available $ cat phpmyadmin.conf🆑
<VirtualHost *:80>
	ServerName 192.168.20.241
	ServerAdmin webmaster@localhost
	DocumentRoot /www/phpmyadmin/
	ErrorLog  /www/logs/phpmyadmin/error.log
	CustomLog /www/logs/phpmyadmin/access.log combined
	DirectoryIndex "index.php" "index.html"
	<Directory "/www/phpmyadmin/">
		Require all granted
	</Directory>
</VirtualHost>
pi@raspberrypi:/etc/apache2/sites-available $
pi@raspberrypi:/etc/apache2/sites-available $ ls -la🆑
合計 28
drwxr-xr-x 2 root root 4096  9月  9 18:49 .
drwxr-xr-x 8 root root 4096  9月  5 23:12 ..
-rw-r--r-- 1 root root 1332  9月 20  2017 000-default.conf
-rw-r--r-- 1 root root 6338  4月  6 03:32 default-ssl.conf
-rw-r--r-- 1 root root  329  9月  6 00:37 ipaccess.conf
-rw-r--r-- 1 root root  329  9月  9 18:49 phpmyadmin.conf🈁
pi@raspberrypi:/etc/apache2/sites-available $
pi@raspberrypi:/etc/apache2/sites-available $ cd ../sites-enabled/🆑
pi@raspberrypi:/etc/apache2/sites-enabled $
pi@raspberrypi:/etc/apache2/sites-enabled $ sudo ln -s ../sites-available/phpmyadmin.conf phpmyadmin.conf🆑
pi@raspberrypi:/etc/apache2/sites-enabled $
pi@raspberrypi:/etc/apache2/sites-enabled $ ls -la🆑
合計 8
drwxr-xr-x 2 root root 4096  9月  9 18:50 .
drwxr-xr-x 8 root root 4096  9月  5 23:12 ..
lrwxrwxrwx 1 root root   32  9月  5 23:00 001-ipaccess.conf -> ../sites-available/ipaccess.conf
lrwxrwxrwx 1 root root   34  9月  9 18:50 phpmyadmin.conf -> ../sites-available/phpmyadmin.conf🈁
pi@raspberrypi:/etc/apache2/sites-enabled $
pi@raspberrypi:/etc/apache2/sites-enabled $ sudo service apache2 stop🆑
pi@raspberrypi:/etc/apache2/sites-enabled $ sudo service apache2 start🆑
pi@raspberrypi:/etc/apache2/sites-enabled $
ログインすると,権限のあるデータベースやテーブル,データが確認できる.
設置するだけなのでとても簡単.危ないねぇ.
