


ブログ - nginxをsplunkのプロキシーに設定する.
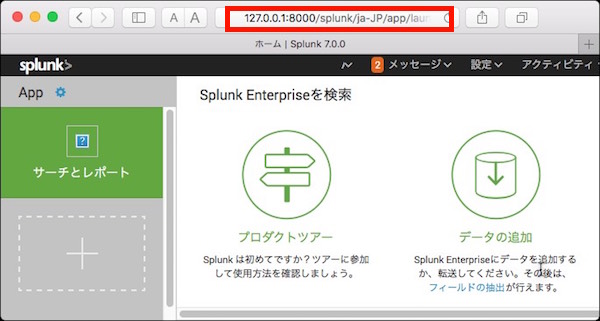
今回の実行イメージはこれ.

nginxの設定ファイルの場所を確認.
Apacheで言うところのhttpd.confのようなものがnginx.confファイル.このファイルにlocationを追加.
proxy_set_headerによって受け取り側(転送先)のサーバがリクエストヘッダで本当のリクエストIPアドレスとホスト名を受け取ることができる.そうしないと全てがlocalhostになってしまう.
次に,Splunk側の設定を変更する必要がある.まずは,設定ファイルのweb.confを確認.
root_endpointパラメータにリクエスト元(今回の場合nginx)からくるパスを設定する.今回はそのままsplunkで設定.そして,tools.proxy.onパラメータをコメントを外して有効化.
nginxとSplunkの再起動が終わったら,アクセスしてみる.
残念...appServerPortsはweb.confに記載がありました.
翻訳すると「(通常は1つのポートで十分ですが)0に設定すると、代わりにsplunkdとは別の 'httpport'上のWebフロントエンドとしてアプリケーションサーバーを直接実行します。」とありますので,8065に変わって0を設定してみます.
Spunkを再起動.
まずは,nginxに接続.
http://localhost:8080
問題なければ,Splunkに接続.
http://localhost/splunk/
接続できました.うまく接続できない時は,ブラウザのキャッシュをクリアしてみてください.
nginxの設定ファイルの場所を確認.
gaia:~ server$ ls -la /usr/local/etc/nginx/🆑
total 120
drwxr-xr-x  18 server  admin   612 11 23 20:46 .
drwxr-xr-x   9 server  admin   306 11 23 20:46 ..
-rw-r--r--   1 server  admin  1077 11 23 20:46 fastcgi.conf
-rw-r--r--   1 server  admin  1077 11 23 20:46 fastcgi.conf.default
-rw-r--r--   1 server  admin  1007 11 23 20:46 fastcgi_params
-rw-r--r--   1 server  admin  1007 11 23 20:46 fastcgi_params.default
-rw-r--r--   1 server  admin  2837 11 23 20:46 koi-utf
-rw-r--r--   1 server  admin  2223 11 23 20:46 koi-win
-rw-r--r--   1 server  admin  3957 11 23 20:46 mime.types
-rw-r--r--   1 server  admin  3957 11 23 20:46 mime.types.default
-rw-r--r--   1 server  admin  2680 11 23 20:46 nginx.conf
-rw-r--r--   1 server  admin  2680 11 23 20:46 nginx.conf.default
-rw-r--r--   1 server  admin   636 11 23 20:46 scgi_params
-rw-r--r--   1 server  admin   636 11 23 20:46 scgi_params.default
drwxr-xr-x   2 server  admin    68 11 23 20:46 servers
-rw-r--r--   1 server  admin   664 11 23 20:46 uwsgi_params
-rw-r--r--   1 server  admin   664 11 23 20:46 uwsgi_params.default
-rw-r--r--   1 server  admin  3610 11 23 20:46 win-utf
gaia:~ server$
        # proxy the PHP scripts to Apache listening on 127.0.0.1:80
        #
        #location ~ \.php$ {
        #    proxy_pass   http://127.0.0.1;
        #}

        location /splunk/ {🈁
            proxy_set_header Host $host;🈁
            proxy_set_header X-Real-IP $remote_addr;🈁
            proxy_pass   http://localhost:8000;🈁
        }🈁

        # pass the PHP scripts to FastCGI server listening on 127.0.0.1:9000
        #
        #location ~ \.php$ {
        #    root           html;
        #    fastcgi_pass   127.0.0.1:9000;
        #    fastcgi_index  index.php;
        #    fastcgi_param  SCRIPT_FILENAME  /scripts$fastcgi_script_name;
        #    include        fastcgi_params;
        #}
次に,Splunk側の設定を変更する必要がある.まずは,設定ファイルのweb.confを確認.
gaia:Splunk server$ ls -la /Applications/Splunk/etc/system/default/web.conf🆑
-r--r--r--  1 server  wheel  49972  9 13 14:06 /Applications/Splunk/etc/system/default/web.conf
gaia:Splunk server$
# Top level name for the site
#root_endpoint = /
root_endpoint = /splunk🈁

# path to static content
# The path here is automatically appended to root_endpoint defined above
static_endpoint = /static

# Set this in local/web.conf if running behind a reverse proxy to log
# the X-Forwarded-For address of the client rather than the address of the proxy
# tools.proxy.on = True
tools.proxy.on = True🈁
503 Service Unavailable

Return to Splunk home page

設定されている appServerPorts では、appserver に直接アクセスできません。
# list of ports to start python application servers on (although usually
# one port is enough)  Set to 0 to instead run the application server
# directly as the web front end on 'httpport', separate from splunkd.
appServerPorts = 8065🈁
vi  /Applications/Splunk/etc/system/default/web.conf

#appServerPorts = 8065
appServerPorts = 0
まずは,nginxに接続.
http://localhost:8080
問題なければ,Splunkに接続.
http://localhost/splunk/
接続できました.うまく接続できない時は,ブラウザのキャッシュをクリアしてみてください.
